After being a good little boy for the year I decided that a Christmas present was in order. i therefore purchased a Random Orbital polisher to attempt paint correction and polishing of my cars.

I figured the best way to get started was to purchase a kit that included all the basics. I went with the:
Car Care Products RO polisher DAS6-Pro kit plus
The only question when you purchase this kit is what sort of pads you want? Figuring that Merzerna polish was included I went with the Merzerna pads.
As you can see from the above image, the package includes a polisher, 3 x polishes (500, 2,500, 4,000), a number of polishing and cutting pads as well as 2 x backing plates. Everything you need to take your detailing to the next level.
Before polishing my daily drive, which I am practicing on before I get ANYWHERE near the F355, I washed the car and clay barred the area that I planned to polish to ensure it was as clean as possible.
Now after watching plenty of detailing videos I knew that my first attempt should be using the least aggressive option. I therefore went for a polishing pad and the 2,500 polish. I knew this wasn’t probably going to take out any defects in the paintwork but it would give me experience using the machine. As expected it took out some minor defects and gave the surface a nice polish but I needed to go a little more aggressive.
My nest step was to move to a foam cutting pad with the 2,500 polish. I did this on my bonnet and saw that it removed all the swirl marks and light scratches that I had put into the paint work over the years by using incorrect washing methods. However, it still left some water stains, which meant It would need to even more aggressive.

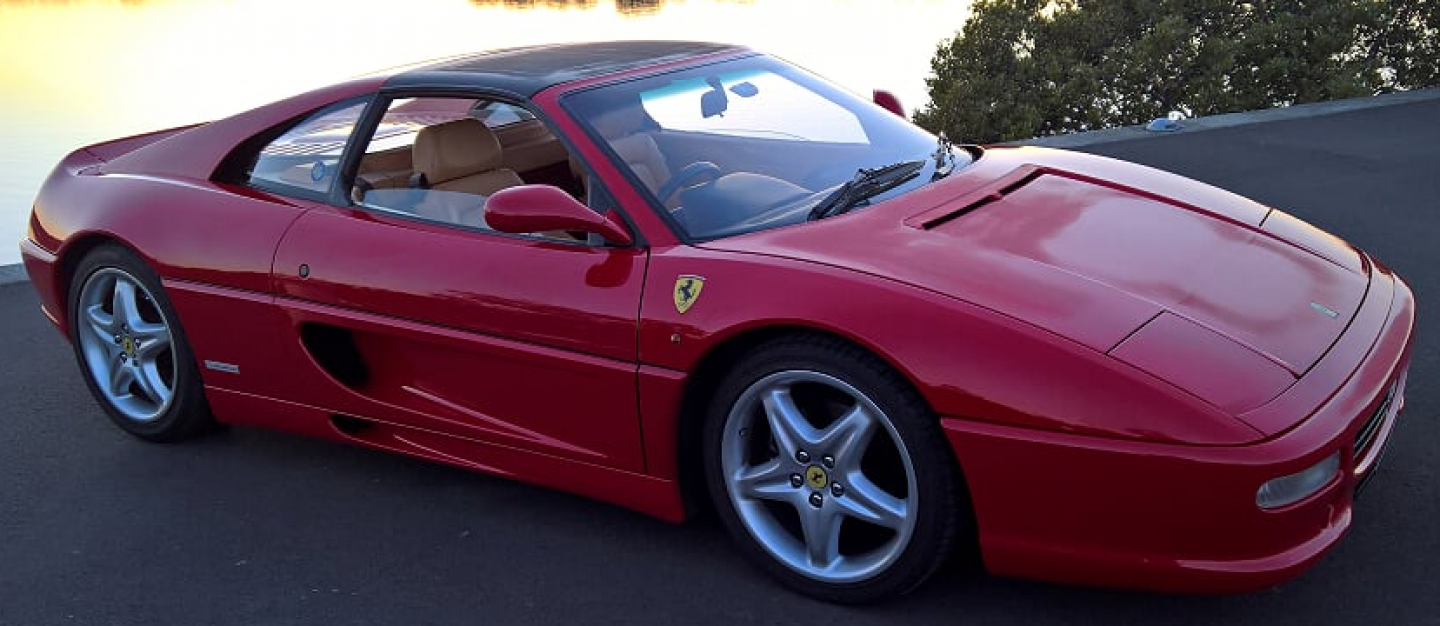
Rather than re-doing the bonnet I decided to try a more aggressive cut on a rather large scratch I’d had for a long time on my passengers fender as you can see in the above image (just above the wheel).

This time I used a micro fibre cutting pad (a little bit more aggressive than a foam cutting pad) and the 2,500 polish. Once I had completed the area with the 2,500 I reworked the area with the 4,000 to remove any fine scratches I may have put into the paintwork using the 2,500.
As you can see from the above photo I was able to completely remove the scratch. If you look very closely in the light you can see where the scratch was, but to the naked eye it is pretty much invisible. It is pretty impressive the result you get when done correctly. The panel now had no scratches or swirl marks at all!
Of course, once you have completed polishing you need to seal the area to protect it. For this I used Permanon.
Thus, my test polishes have been successful. I am happy with the combination of the micro fibre cutting pad and the 2,500 polish to tackle deeper imperfection. My next challenge is going to be the roof (which will difficult to access with a polisher) since it contains similar water stains that I failed to remove from the bonnet on my test runs. Also being a large flat area I’ll get a better idea if my combination of pad and polish (followed up by a finishing polish) really work as well as I think.
The results soon.
