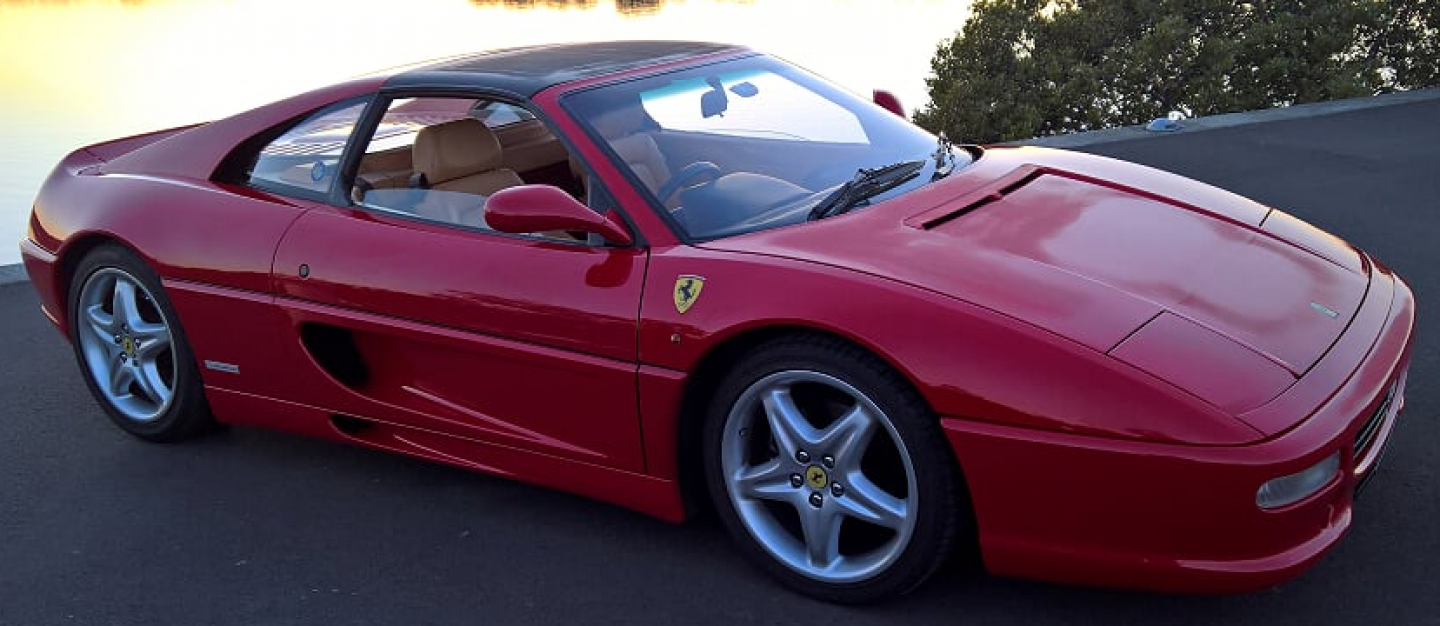
The good news is that the car is back from its service. The annoying news is that there is still a few more things that need to be done.

Here’s the replaced clutch plate, which appears to be original (i.e. the only one the car has had after all this time). Can’t complain, about 25 years in age and around 90,000 kilometres in travel.

You can see that it is worn by looking at the ridges and noting that the many are missing as you go around the plate. These missing ridges indicate that clutch material has been worn down. You’ll also notice that the plate tends to wear on the outside. This is expected as the plate grabs on the outside first.

The other interesting thing is that the plate isn’t worn evenly. As you see above, in some places it is badly worn (left) and in others (right) it isn’t! I’ll have to work out why that might happen, however, all in all the old plate was pretty knackered, which you expect after all these years.


Above is the old clutch release bearing that was also replaced. The replacement is an older OEM style release bearing mainly due to it’s reduced price and availability compared to the upgraded model. The upgraded version is over twice the cost currently of the OEM version, without a lot of difference so I’m told. Main point is, I needed a new bearing and now I have one.

The inner ring is the actual bearing that spins and makes contact with the clutch springs when the the clutch pedal is depressed as shown above. Again, being the original bearing, it has had a good life and is beginning to wear and not move as freely as it did initially. Unfortunately, the bearing itself can’t se serviced so a new one is in order.
One of things that I struggled to understand was how the clutch release bearing was actually pushed onto the clutch springs. This can be done either using a mechanical arm or the modern approach is to use hydraulics.

What I worked out initially was that with the F355 it was hydraulic. You can see the two hydraulic lines for the clutch at the top of the housing as shown above, one of which goes off to a bleed valve. What stumped me for quite a while was how it got from here to moving the actual clutch release bearing.

It turns out that those lines that go into the housing go through to the mounting frame as shown above.

The support flange (part number 168589), shown above, has two matching holes. that align with those on the casing.


You’ll see that the support flange is stepped and at the top of that step are two more holes where the hydraulic fluid can flow as shown above.
Onto this flange will fit the clutch release bearing, which has a number of seals to keep the hydraulic fluid from leaking out during operation. It is important that all these seals are good, otherwise you’ll get fluid leaks and increased wear.
I found these three videos to be a handy reference for the whole change over process:

The passenger’s rear hyperblock (part number 114812) or chock absorber mount, as you can see above, also needed to be changed. It should look like:

and is found here:

Apart from this, it seems that there is also a problem with the shock absorber actuator (part number 158732) which sits at the top of the assembly.

Unfortunately, that part is not available, so it will be ordered in for my next visit to Racing Red.

This fault actuator also results in a yellow suspension warning light to be displayed on the right hand side of the dash as shown above (the red light above it is just the seat belt warning light telling me to buckle up), which is on now all the time. I must admit that this is annoying, as I can’t fully relax while driving with a warning light on the dashboard. However, it isn’t a show stopper and will be fixed, so I’ll just have to deal with it for now! Still annoying though.
So Liverpool Exhaust still have the cats to be re-cored. They said ‘maybe’ before Christmas, otherwise, in the New Year. Again, annoying but I appreciate this time of year is busy and I’d rather have them done right than rushed. For now, Sal was replaced the missing cats with some temporary straight pipes to tide me over. Lucky that he had some he could ‘lend’ me.

You can see some other parts that were changed above.

Two cam belt tensioners as shown above (part number 167464), one on either side for each cylinder bank.

Two timing belts as shown above (part number 184986). Again, one on either side for each cylinder bank.

Two inside boot covers (part number 70006021/A) as shown above. These were actually replaced back in 2013. You can read about that here:
https://blog.lovethe355.com/2013/12/07/annual-service/

There is also a full ‘boot kit’ you can use (part number 7006021 – Gaiter Replacement kit) here:

The reason the boots fail is because of the heat generated by the engine over time. This is supposed to be mitigated by the heat shields:

which are not really long enough to fully protect the in board boots. Sal has now extended these heat shields out further to try and prevent this happening again, however seven years isn’t too bad for the boots considering how hot the engine does get.

If you haven’t been following along with the whole story, back in May 2014 I reversed the car into a pole in the middle of the street:
https://blog.lovethe355.com/2014/05/26/look-before-reserving/
that cracked the bumper and also snapped part of the diffuser under the car off. I had the bumper repaired a while back but the diffuser remained broken, which annoyed me every time I looked under the rear of the car.

Luckily, Sal had some replacement diffusers (part numbers 64841000 [left], 64840900 [right]) which are now installed.
Unfortunately, it seems the suspension springs can’t be effectively re-conditioned because if you do they will sag again but faster. That means, that at some point down the track, when they get really bad, I’ll have to replace them. For now, they are fine so I’ll leave that for another day.
Finally, some of the directional components of the air conditioning are not working. This restricts where the flow or air can be directed in the car. It doesn’t prevent the air conditioning from operating, just where the flow can be directed using the vents. To rectify that, more parts will need to be ordered and replaced during the next visit.
So, what still needs to be done?
1. Re-installed re-cored cats.
2. Actuator for passenger rear shock absorber.
3. Air conditioning directional vents.
Hopefully all these can be sorted in the New Year and I’ll be fully operational again (without that annoying dash warning light). However, it is good to have the car back again and I can tell you that the new clutch makes a HUGE difference. The car is so much lighter and easier to drive. Changing gears requires almost no effort now! It is always good to notice a positive change after investing all this money and time to get it fixed.
So another annual service is pretty much complete. Only a few items to finish up, hopefully in the New Year. Thanks again to Sal from Racing Red for sourcing all the parts, lending me some spare cats and getting the job done so quickly. Look out 2021, here we come!
